Choose the board
Match the product photo and model name to the hardware in hand.
Web installer preview
The setup will identify the selected board, connect through USB-C and install irons directly from the browser. Installation is not active yet.
Match the product photo and model name to the hardware in hand.
Use a USB-C data cable between the board and a desktop computer.
The browser will guide the connection and installation from one page.
CHOOSE THE HARDWARE
Use the photo and printed model name to make the selection. All listed boards connect with USB-C.
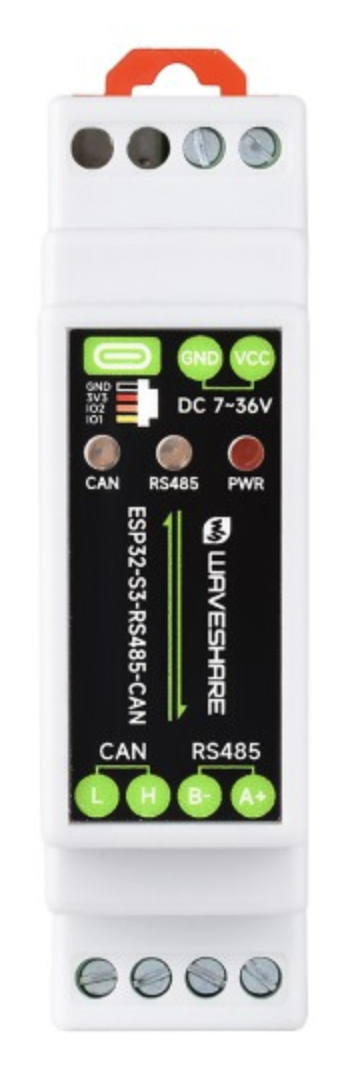 Waveshare ESP32-S3
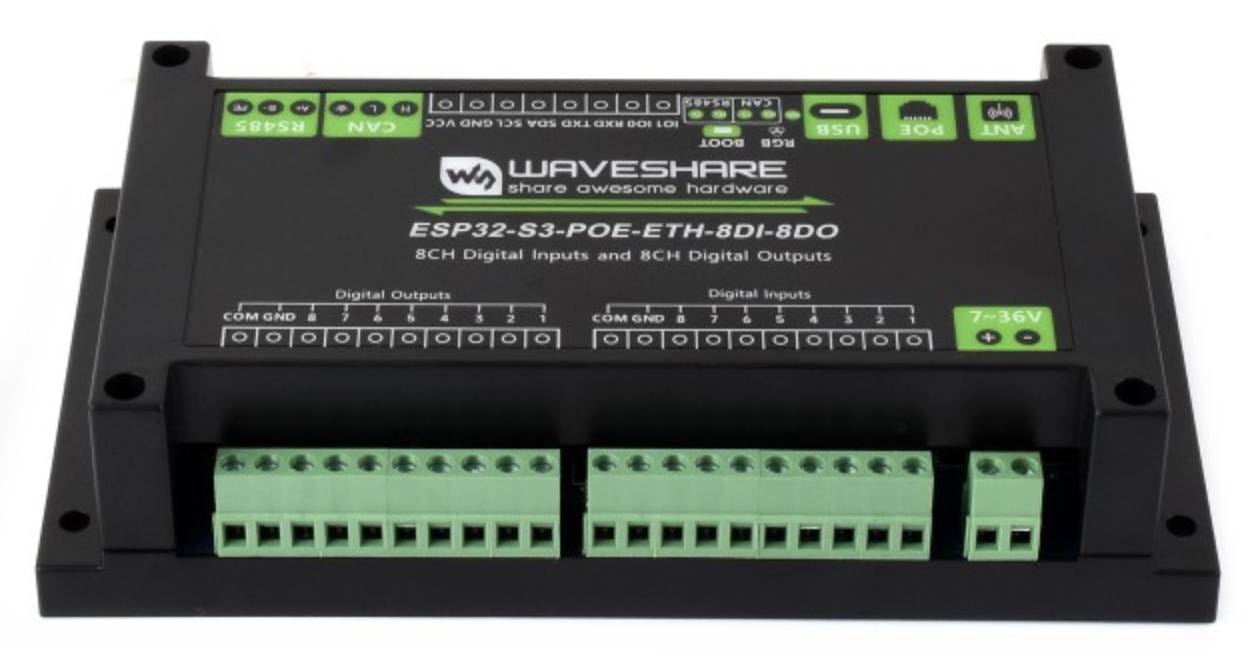 Waveshare ESP32-S3 PoE
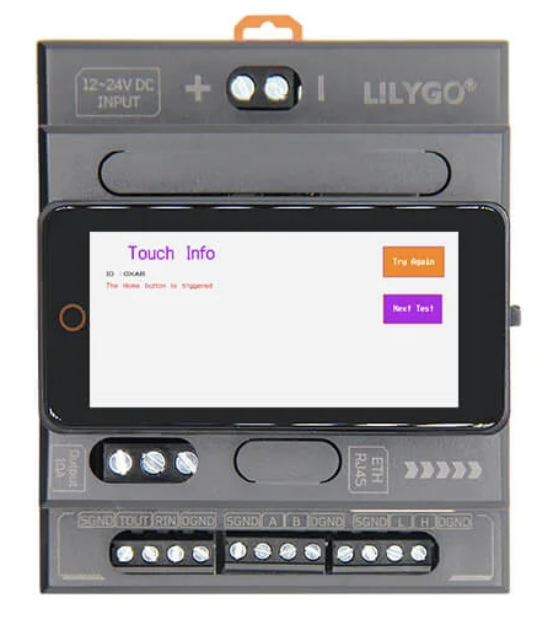 LILYGO
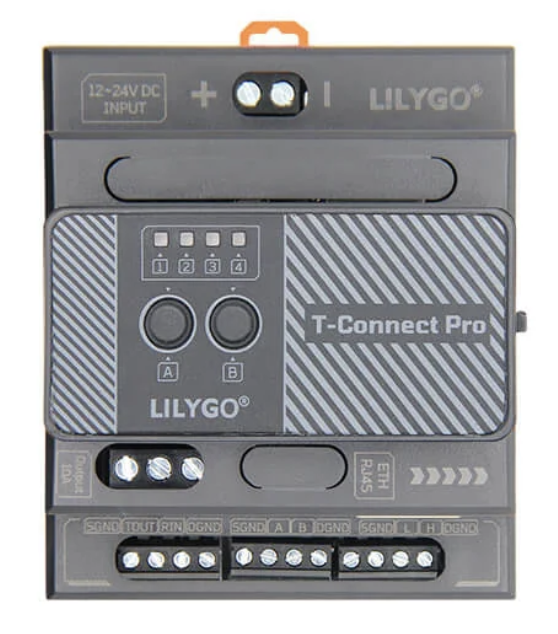 LILYGO
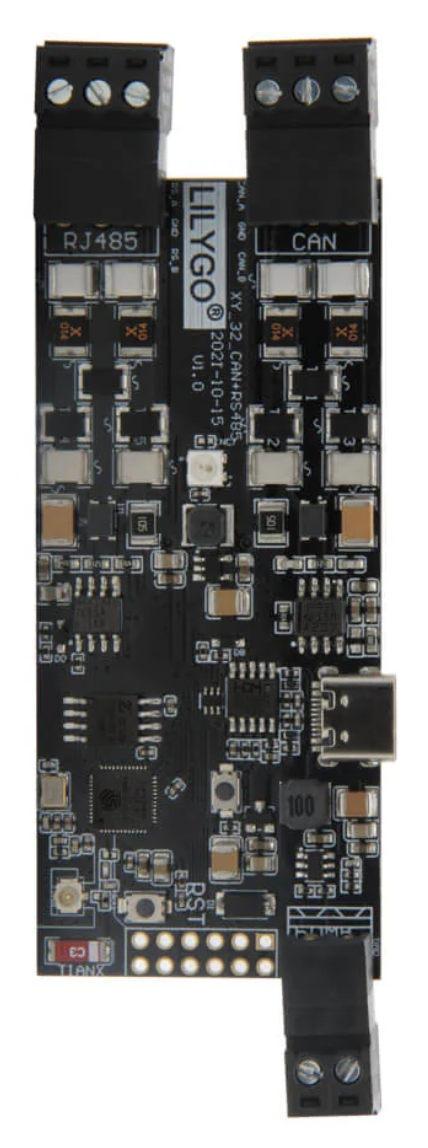 LILYGO TTGO
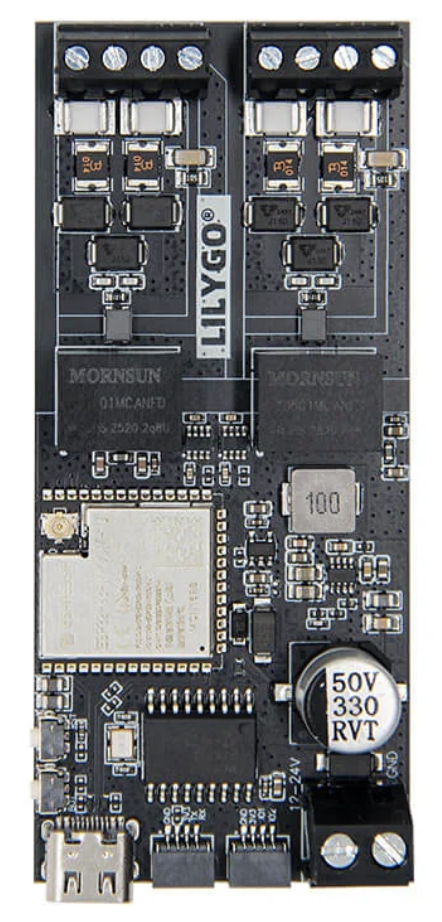 LILYGO
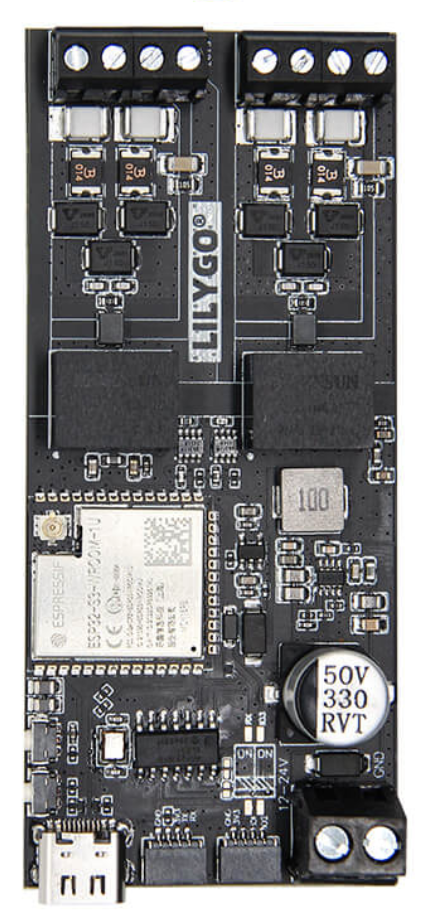 LILYGO
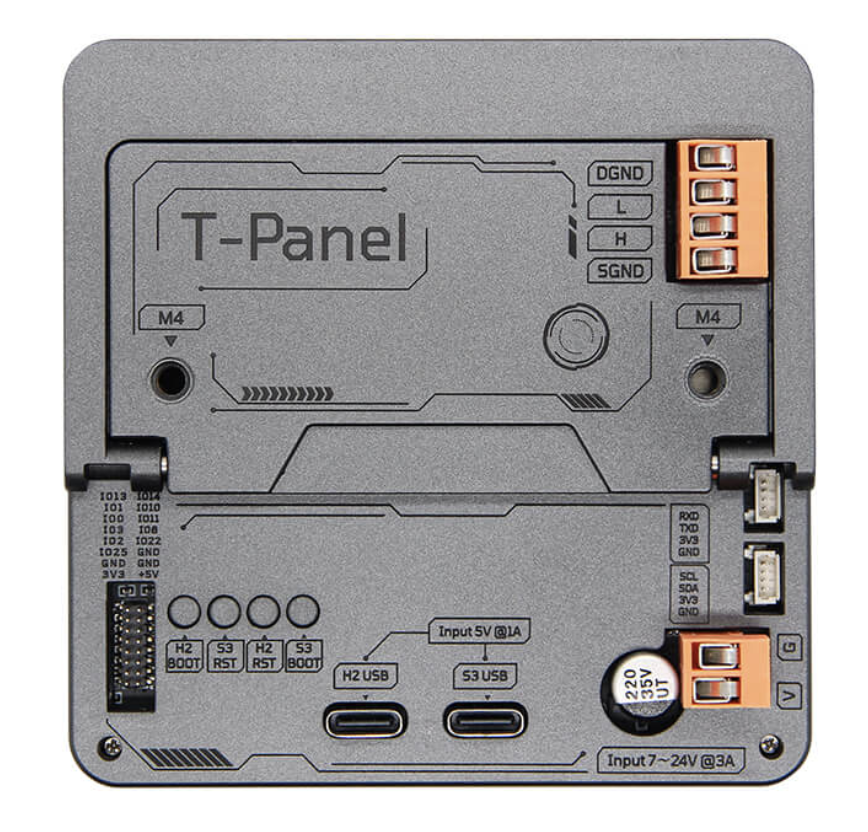 LILYGO
INSTALLER STATUS
Web installation is not active yet. This page shows the planned board selection and USB-C setup.Use a current version of Chrome or Microsoft Edge on macOS, Windows, Linux or ChromeOS.
Every listed board uses USB-C. The cable must support data, not charging alone.
Vessel power and network wiring should be disconnected while the board is connected to the computer.